Serving a PyTorch Model using FastAPI
Learn how to serve a PyTorch model with FastAPI.
August 26, 2024
06m Read
By: Abhilaksh Singh Reen
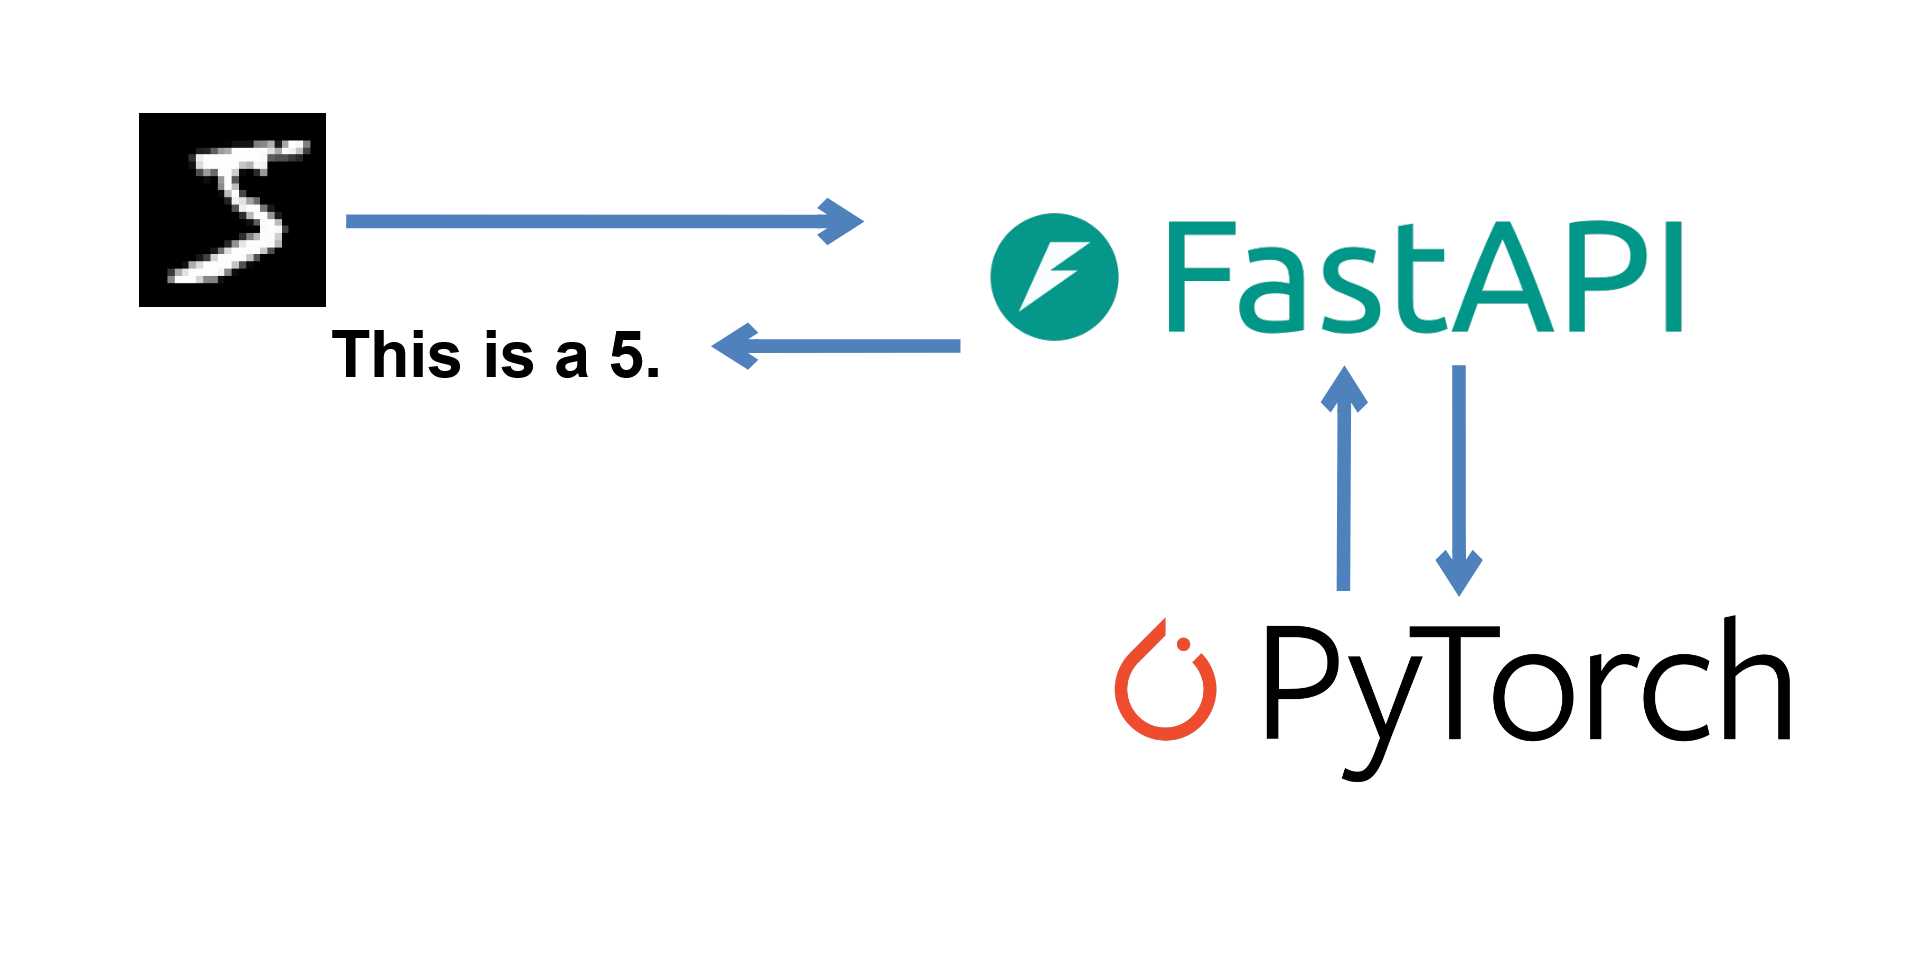
In this Post, we trained a CNN in PyTorch to recognize handwritten digits. Today, we'll put it on a REST server using FastAPI, so that other applications can make use of our model without having it locally. This is actually surprisingly simple - just a little over a hundred lines of code.
The code for this Article can be found right here.
Server Setup
Once completed, our codebase would look something like the following:
│   requirements.txt
│
├───models
├───src
│       app.py
│       config.py
│       model.py
│       __init__.py
│
└───tests
        config.py
        requirements.txt
        test_apis.py
Requirements
It is recommended to do this in a virtual environment. Install the required packages by running:
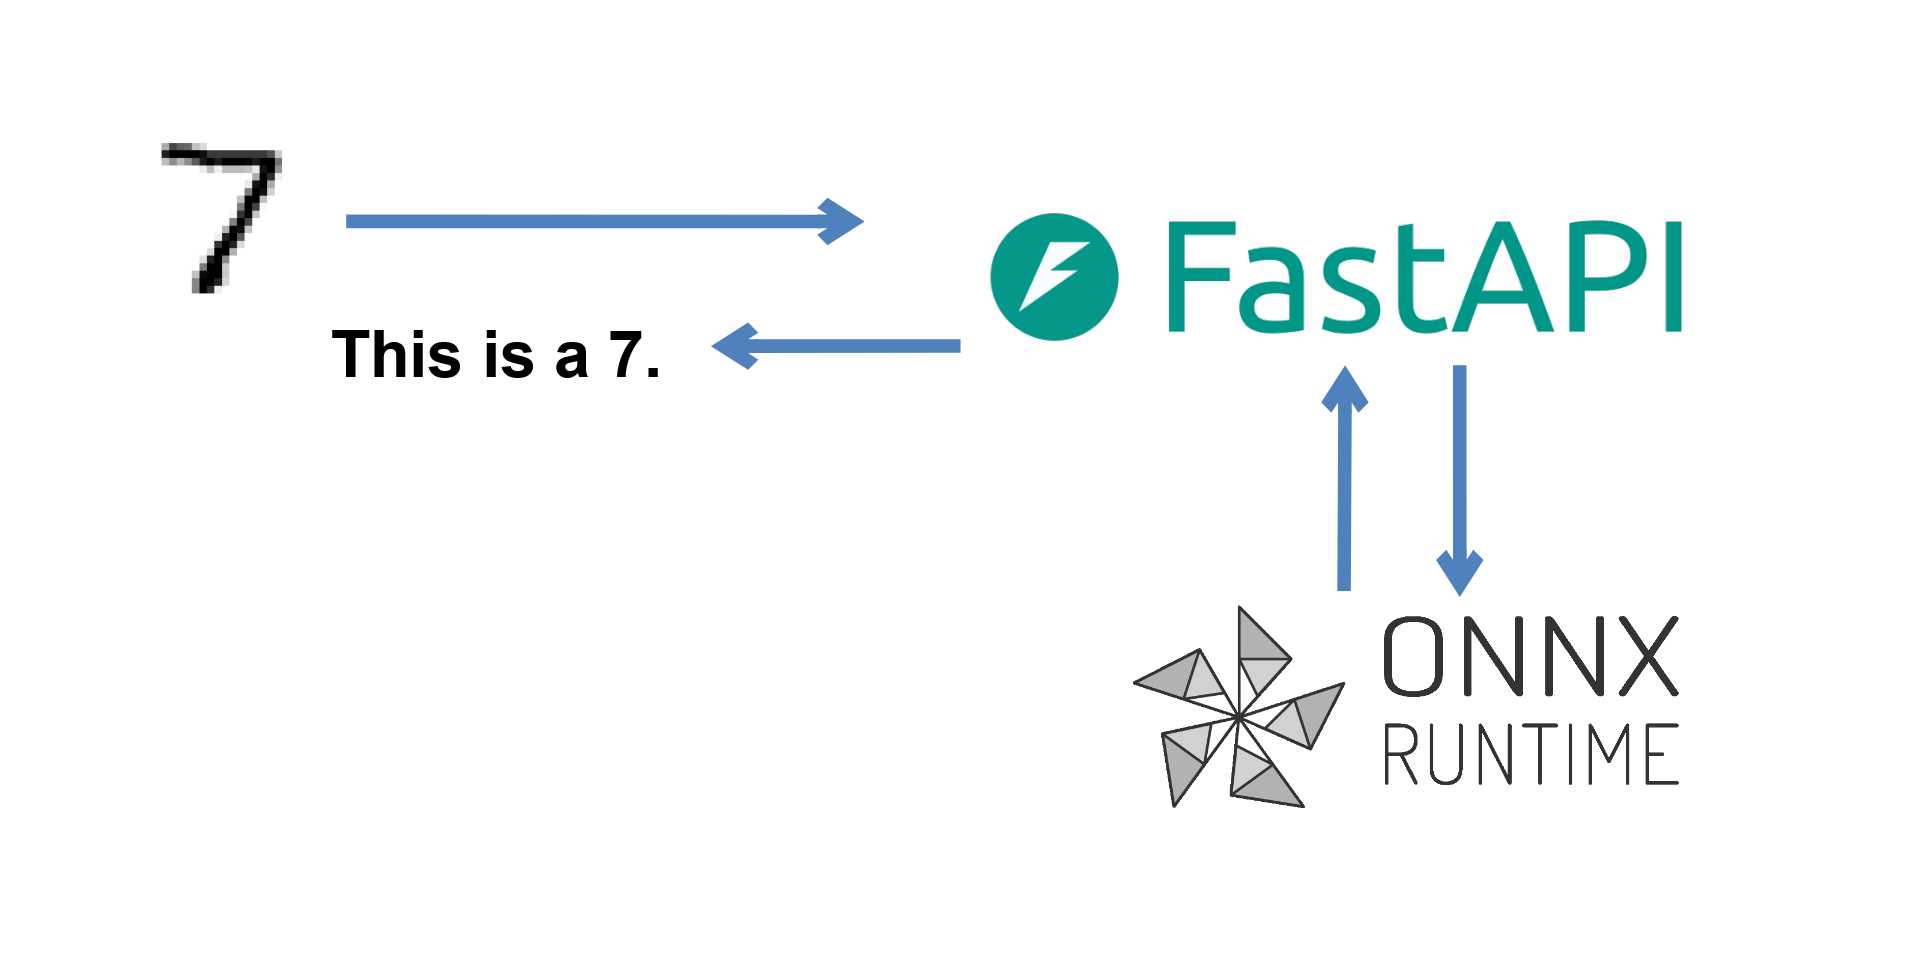
pip install fastapi numpy torch torchvision opencv-python pydantic python-multipart uvicornUnfortunately, since we are using PyTorch for inference, we need to have torch and torchvision installed. These are large packages and their installation is time-consuming. If you're interested in a more lightweight deployment, you can do it with ONNX Runtime, as we have done here. For now, let's continue with torch.
Configuration
Inside the project directory, we make another folder called src, and in this folder, we create a file called config.py.
from os.path import dirname, join as path_join


models_dir = path_join(dirname(dirname(__file__)), "models")
Right now, we only have the path to our models directory in this file. Feel free to add more configuration as needed.
The Model
Let's work on src/model.py next.
import torch
import torch.nn as nn
import torch.optim as optim


class CNN(nn.Module):
    def __init__(self):
        super(CNN, self).__init__()

        self.conv1 = nn.Conv2d(in_channels=1, out_channels=10, kernel_size=5)
        self.pool = nn.MaxPool2d(kernel_size=2, stride=2)
        self.conv2 = nn.Conv2d(in_channels=10, out_channels=20, kernel_size=5)
        self.dropout = nn.Dropout(p=0.5)
        self.fc1 = nn.Linear(20 * 4 * 4, 50)
        self.fc2 = nn.Linear(50, 10)

    def forward(self, x):
        x = self.pool(torch.relu(self.conv1(x)))
        x = self.pool(torch.relu(self.conv2(x)))
        x = self.dropout(x)
        x = x.view(-1, 20 * 4 * 4)  # Flatten the tensor
        x = torch.relu(self.fc1(x))
        x = self.dropout(x)
        x = self.fc2(x)
        return torch.softmax(x, dim=1)

# Create an instance of the CNN model
model = CNN()

# Define loss function and optimizer
# criterion = nn.CrossEntropyLoss()
# optimizer = optim.Adam(model.parameters(), lr=0.001)
I've copied this file from our training project and commented out the unnecessary bit. In summary, the model is a Convolutional Neural Network with two convolution, one max pooling, one dropout, and two fully-connected layers.
FastAPI Server and Torch Inference
Next up, we have src/app.py that contains our FastAPI server and the Inference code for our model. We import the required packages, initialize the server, load the model, and define our preprocessing transforms.
from os.path import join as path_join

import cv2
from fastapi import FastAPI, File, UploadFile, Query
from fastapi.responses import JSONResponse
from fastapi.middleware.cors import CORSMiddleware
import numpy as np
import torch
from torchvision import transforms

from .config import models_dir
from .model import CNN


# MODEL_WEIGHTS_FILE_PATH = path_join(models_dir, "training_id", "epoch-epoch_numbe")
MODEL_WEIGHTS_FILE_PATH = path_join(models_dir, "torch---2024-04-23-08-25-15", "epoch-9.pt")
device = torch.device("cuda" if torch.cuda.is_available() else "cpu")


app = FastAPI()
# app.add_middleware(
#     CORSMiddleware,
#     allow_origins=["*"],
#     allow_credentials=True,
#     allow_methods=["*"],
#     allow_headers=["*"],
# )

model = CNN()
model = model.to(device)
model.load_state_dict(torch.load(MODEL_WEIGHTS_FILE_PATH, map_location=device))
model.eval()

preprocessing_transforms = transforms.Compose([
    transforms.ToTensor(),
])
We can now define our inference endpoint.
@app.post("/api/run-inference")
async def run_inference(file: UploadFile = File(...), image_provider: str = Query(None)):
    file_contents = await file.read()
    np_arr = np.frombuffer(file_contents, np.uint8)
    image = cv2.imdecode(np_arr,  cv2.IMREAD_UNCHANGED)

    # Remove the alpha channel and make the digit black on white
    if image_provider == "konva":
        image = image[:, :, 3]

    # cv2.imwrite("original.png", image)

    image = cv2.resize(image, (28, 28))
    # cv2.imwrite("resized.png", image)

    if len(image.shape) > 2 and image.shape[-1] > 1:
        image = image[:, :, 0]

    preprocessed_image = preprocessing_transforms(image)
    preprocessed_image = preprocessed_image.unsqueeze(0)

    output = model(preprocessed_image)
    prediction = output.argmax(dim=1, keepdim=True)
    prediction = int(prediction)

    return JSONResponse(
        content={
            "predicted_label": prediction,
        },
        status_code=200
    )
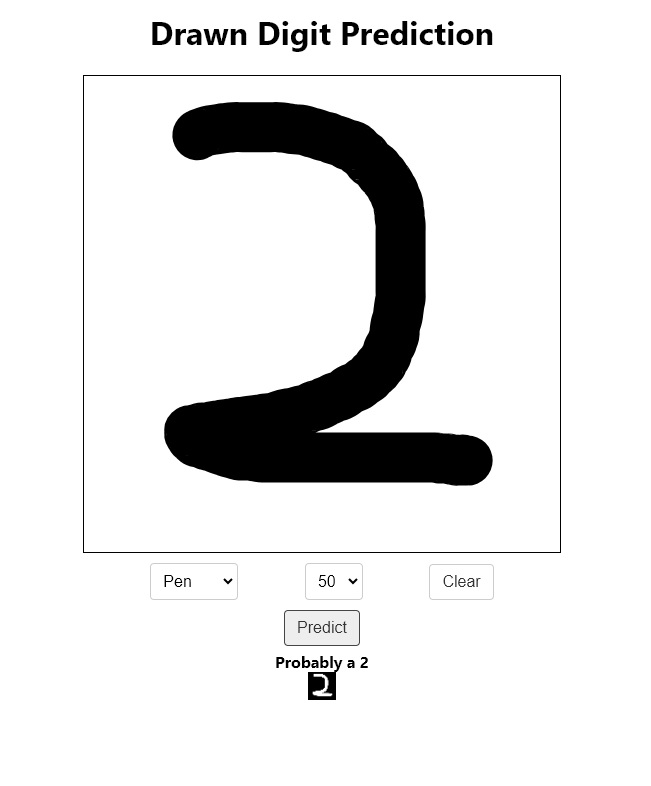
We receive the image as multipart/form-data and load its contents into a numpy array and then decode them to a cv2 image. The endpoint has an optional query parameter called image_provider that allows the client side to request a certain preprocessing method. In this Post, we build a Frontend in React with Konva where the user can draw an image with their mouse and get a prediction from the API. Hence, I have a case configured for the konva image provider. We resize the image to 28x28 and make it single-channel. Then, we pass it through our preprocessing transforms and add a batch dimension. Next, we pass it to our model and get the output. The output is an array of probabilities for the 10 classes, and the prediction is the class with the highest probability. numpy.argmax gives the index of this class, since the classes are from 0 to 9, this index itself is the prediction, we just have to convert it to an int.
That's it for our application, we can serve it with uvicorn (from the project's root directory) using :
uvicorn src.app:app --port=8000 --host=0.0.0.0You should see an output stating that uvicorn is listening on 0.0.0.0:8000.
Testing
With the application completed, let's work on writing the tests. At the same level as the src folder, create a new folder called tests and inside it create a file called config.py.
from os.path import dirname, join as path_join


data_dir = path_join(dirname(dirname(__file__)), "data")
In this file, we simply define a path to our data directory, that lives at the same level as the tests and src directories.
Testing Data
Inside the data directory, create a folder called test_images. You can draw some digits in MS Paint (white foreground on a black background) and place them in this folder. Inside the data dir, next to the test_images dir, create a file called test_images_labels.json, in which we will store the labels corresponding to our test images. Here's an example labels file
{
    "1.png": 1,
    "2.png": 7,
    "3.png": 2,
    "4.png": 9,
    "5.png": 8,
    "6.png": 5,
    "7.png": 1,
    "8.png": 7,
    "9.png": 1,
    "10.png": 7,
    "11.png": 7,
    "12.png": 0,
    "13.png": 5,
    "14.png": 3,
    "15.png": 2,
    "16.png": 1,
    "17.png": 0,
    "18.png": 8,
    "19.png": 7,
    "20.png": 4
}
With that done, we can move on to our testing code. Create the tests/test_apis.py file.
The Test Case
from json import load as json_load
from os import listdir
from os.path import join as path_join
import unittest

import requests

from config import data_dir


class TestAPIInference(unittest.TestCase):
    def setUp(self):
        self.url = "http://localhost:8000/api/run-inference"
        self.images_dir = path_join(data_dir, "test_images")
        self.labels_json_file_path = path_join(data_dir, "test_images_labels.json")

        with open(self.labels_json_file_path, 'r') as labels_json_file:
            self.labels = json_load(labels_json_file)

    def test_inference(self):
        num_correct_predictions = 0
        num_bad_responses = 0
        all_image_names = listdir(self.images_dir)

        for image_name in all_image_names:
            image_file_path = path_join(self.images_dir, image_name)

            with open(image_file_path, "rb") as file:
                response = requests.post(self.url, files={"file": file})

            if response.status_code != 200:
                num_bad_responses += 1

            self.assertEqual(response.status_code, 200)

            response_data = response.json()

            if response_data['predicted_label'] == self.labels[image_name]:
                num_correct_predictions += 1

            print(
                f"Image: {image_name}, "
                f"Predicted Label: {response_data['predicted_label']}, "
                f"Correct: {response_data['predicted_label'] == self.labels[image_name]}"
            )

        num_inferred = len(all_image_names) - num_bad_responses
        accuracy = num_correct_predictions / num_inferred

        print(f"Failed to infer: {num_bad_responses} / {len(all_image_names)}")
        print(f"Correct Predictions: {num_correct_predictions} / {num_inferred}, Accuracy: {accuracy}")


if __name__ == '__main__':
    unittest.main()
The test case loads the labels and then loads the images one by one and passes them to the API for inference. Then, it checks if there is actually a prediction. Note that the test does not fail in case of an incorrect prediction, the purpose of the test is to check if the API works correctly, not if the model reaches an accuracy threshold. We do print the accuracy, just as a good measure.
With the server running, we can run our test script in another terminal.
python test_apis.pyYou should see an output like the following:
Image: 1.png, Predicted Label: 2, Correct: False
Image: 10.png, Predicted Label: 7, Correct: True
Image: 11.png, Predicted Label: 7, Correct: True
Image: 12.png, Predicted Label: 0, Correct: True
Image: 13.png, Predicted Label: 5, Correct: True
Image: 14.png, Predicted Label: 3, Correct: True
Image: 15.png, Predicted Label: 2, Correct: True
Image: 16.png, Predicted Label: 1, Correct: True
Image: 17.png, Predicted Label: 0, Correct: True
Image: 18.png, Predicted Label: 8, Correct: True
Image: 19.png, Predicted Label: 7, Correct: True
Image: 2.png, Predicted Label: 7, Correct: True
Image: 20.png, Predicted Label: 4, Correct: True
Image: 3.png, Predicted Label: 2, Correct: True
Image: 4.png, Predicted Label: 9, Correct: True
Image: 5.png, Predicted Label: 8, Correct: True
Image: 6.png, Predicted Label: 5, Correct: True
Image: 7.png, Predicted Label: 1, Correct: True
Image: 8.png, Predicted Label: 7, Correct: True
Image: 9.png, Predicted Label: 1, Correct: True
Failed to infer: 0 / 20
Correct Predictions: 19 / 20, Accuracy: 0.95
Conclusion
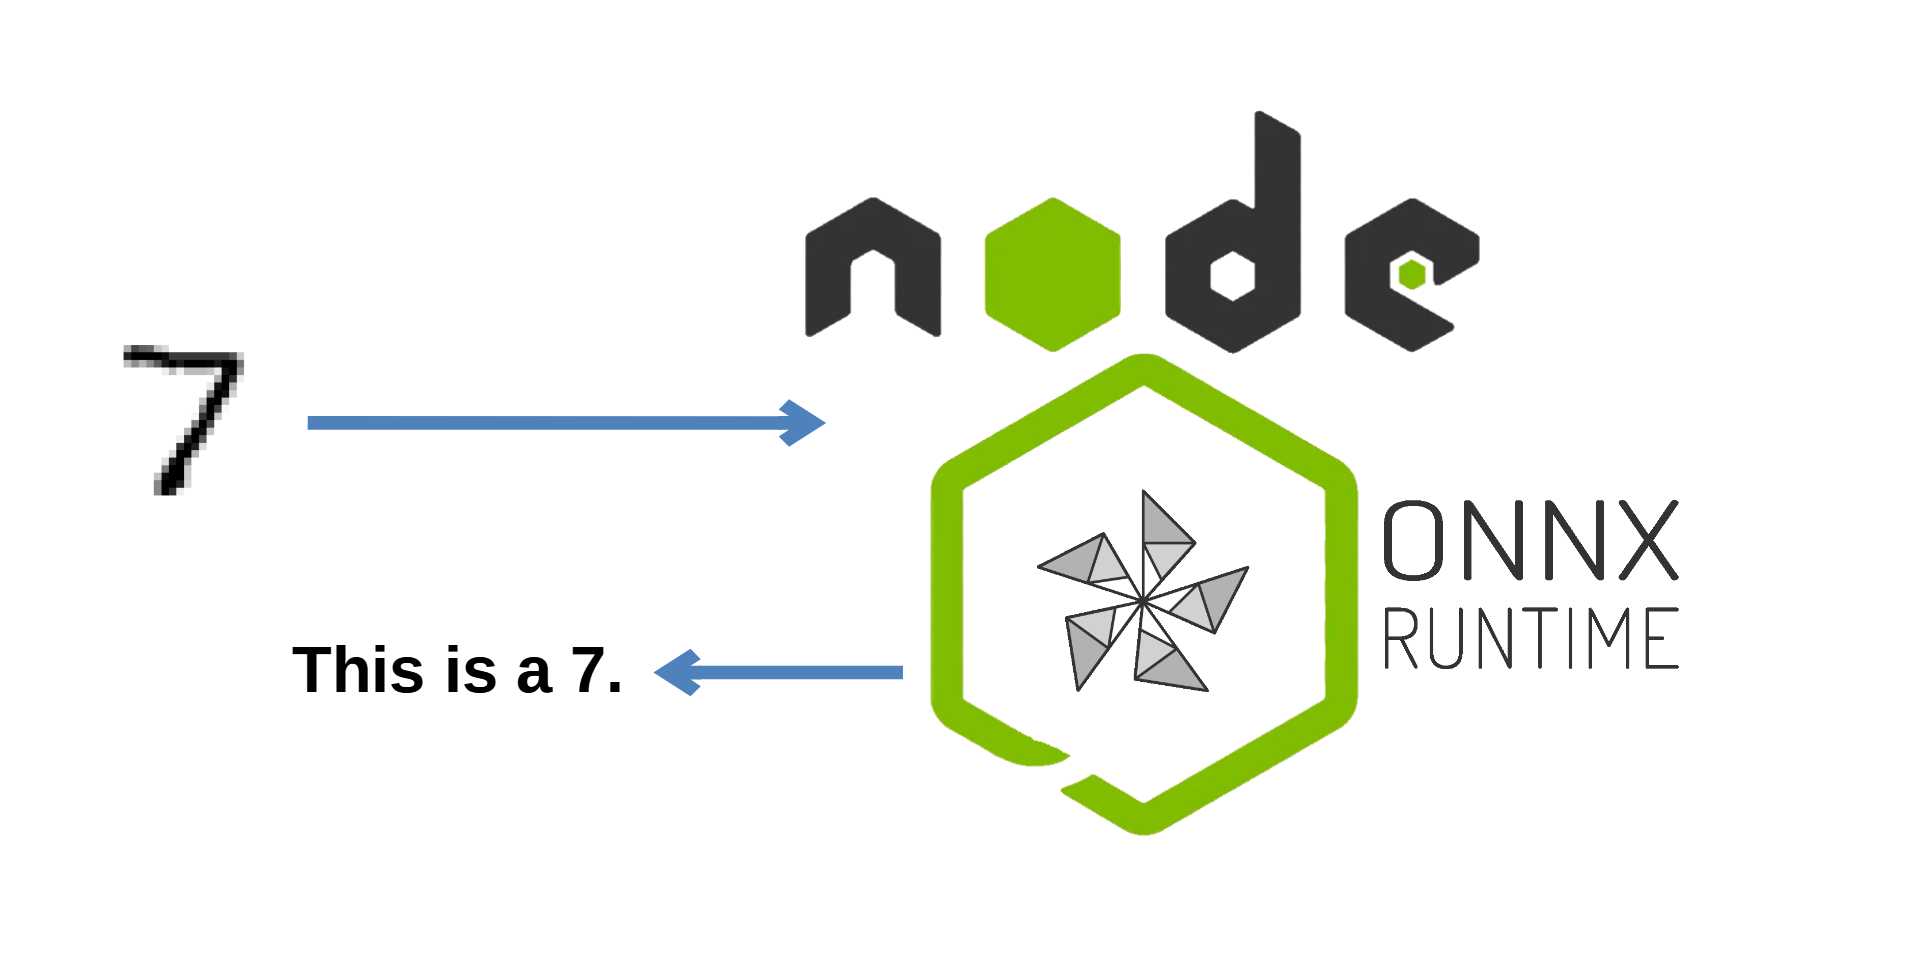
Today, we've learned how we can wrap our PyTorch model in a FastAPI application and serve it to the web. But, as we discussed above, the torch and torchvision packages are heavy and we would not want to have them as a dependency on our server. If you are looking for a lighter way of deployment, it can be achieved through ONNX and ONNX Runtime as we discuss in this Post.
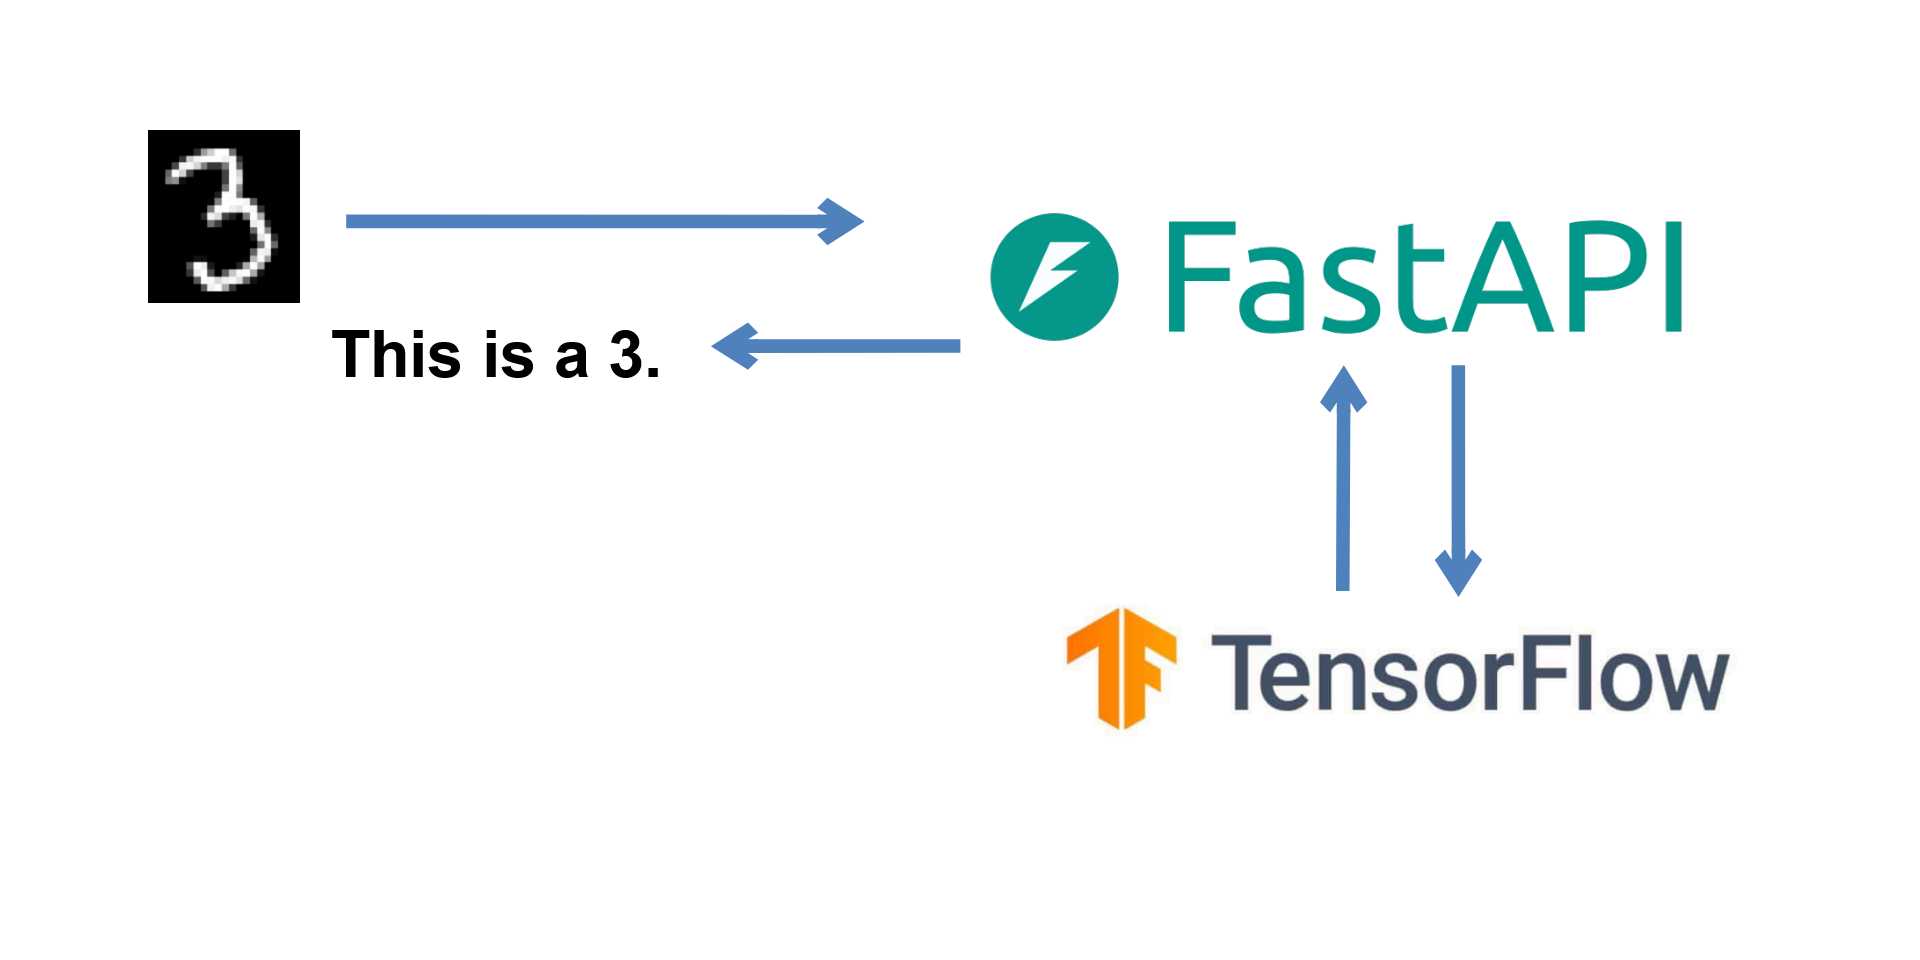
If you're looking for a similar deployment but with TensorFlow, you can check out this Article.
See you next time :)
